trending blog
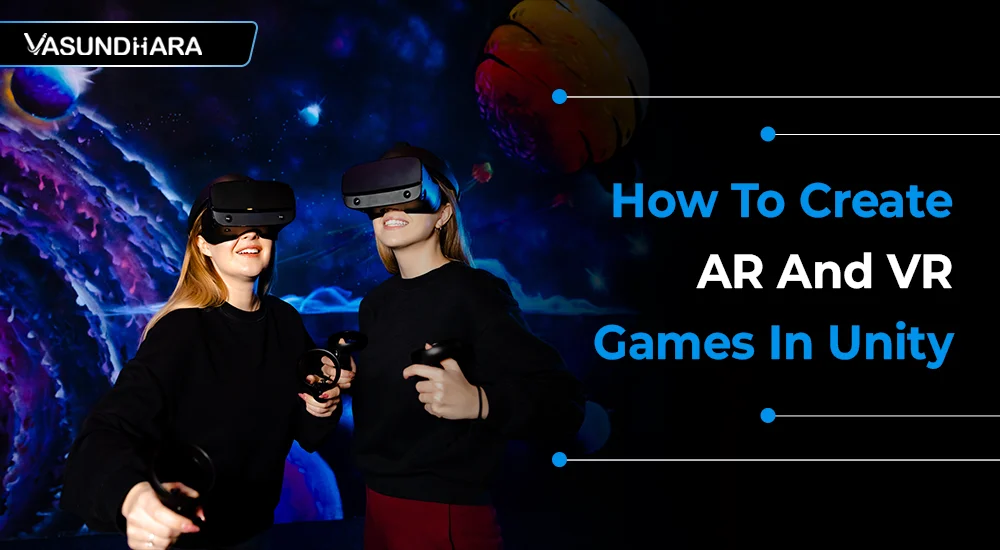
How To Create AR And VR Games In Unity

 Jun 20, 2024


The gaming world is evolving rapidly, with Augmented Reality (AR) and Virtual Reality (VR) leading the charge. These technologies have transformed the way we experience digital content, offering immersive and interactive environments that were once the stuff of science fiction. Unity, one of the most popular game development platforms, provides robust tools and features to create compelling AR and VR experiences. Unity game development provides extensive features, assets, and plugins tailored to AR and VR development.
This blog will walk you through the process of developing VR games and AR games using Unity, from understanding the basics to deploying your final product.
AR overlays digital content onto the real world, enhancing users' perception of their environment. This technology uses devices like smartphones, tablets, and AR glasses to integrate virtual objects into the physical world. A popular example of an AR game is Pokémon GO, where players see Pokémon characters in real-world locations through their mobile devices.
VR immerses users in a completely virtual environment, typically using VR headsets. This technology blocks out the real world and replaces it with a digital one, offering an entirely immersive experience. VR games like Beat Saber place users in virtual environments where they interact with digital objects as if they were real.
Also read: How Much Money Does it Cost To Make a VR Game?
AR adds to the real world, while VR creates a new, entirely virtual world.
AR typically relies on cameras and screens, whereas VR depends on headsets and motion controllers.
AR interactions are often limited by the real-world context, while VR allows for more complex and unrestricted interactions.
To begin developing AR and VR games, you need to install Unity, which is available for free under the Personal license. Here’s a step-by-step guide to get you started:
Unity Hub is a management tool for installing and managing multiple Unity versions and projects. You can download it from the Unity website.
Open Unity Hub, click on the "Installs" tab, and add a new version of the Unity Editor. For AR and VR development, select a version supporting these features.
In Unity Hub, go to the "Projects" tab and click "New". Choose a template (3D or 3D with Extras) and name your project.
Once your project is set up, familiarize yourself with the Unity interface:
Unity 3D Game Development Company specializes in creating immersive and engaging video games using the Unity platform. Renowned for its versatility, Unity supports 2D, 3D, AR, and VR game development, making it a popular choice among developers. With a robust set of tools and a vast asset store, Unity streamlines the development process, enabling rapid prototyping and efficient workflow.
Unity Game Development Company like Vasundhara Infotech leverages this powerful engine to deliver high-quality games across various platforms, including mobile, PC, and consoles. Their expertise ensures seamless performance, stunning visuals, and captivating gameplay, driving success in the competitive gaming industry.
Developing augmented reality (AR) games in Unity is an exciting journey that combines creativity and technical skills. This guide will walk you through the entire process, from setting up your development environment to deploying your final AR game. Let's dive in!

Import AR Foundation and ARCore/ARKit Packages:
Enable XR Plugin Management:
Create a New Scene:
Go to File -> New Scene.
Add AR Session Origin and AR Session:
Add AR Plane and Point Cloud Visualization (optional but recommended for visualizing AR elements):
AR Plane Detection:
AR Raycasting:
Create AR Interactions:
Configure Build Settings:
Player Settings:
Build the Project:
By following these steps, you'll be well on your way to developing engaging and interactive AR games in Unity. Happy coding!
Virtual reality (VR) game development in Unity is an immersive and rewarding endeavor that allows you to create experiences that transport players into entirely new worlds. This guide will walk you through the process of developing VR games in Unity, from setting up your environment to deploying your game.
Installing Unity
Installing VR Support
1.Install XR Plugin Management: Unity's XR Plugin Management system supports various VR platforms. Install it via Unity's Package Manager.
2.Install Platform-Specific Plugins:
Enable XR Plugin Management
1. Open Project Settings: Go to Edit -> Project Settings.
2. XR Plugin Management: Navigate to the XR Plugin Management section.
3.Enable VR Platforms:
Configure Player Settings
1.Open Player Settings: Within the Project Settings window, navigate to the Player settings.
2.XR Settings: Under XR Settings, ensure the VR support is enabled and configured for the selected platforms.
1.Create a New Scene:Go to File -> New Scene to create a new scene.
2.Add XR Rig:
1. Create Environment: Design your environment using Unity’s 3D objects or import models to create a rich and immersive world.
2. Lighting: Set up appropriate lighting to enhance the realism of your scene.
Add Interactable Objects
Configure Controllers
Configure Build Settings
Build the Project
Test on Real Devices
Optimize
Gather Feedback
Enhance Features
Following these steps will enable you to create engaging and immersive VR games using Unity. Embrace the process, experiment with new ideas, and enjoy the creative journey of VR game development!
To build and deploy AR games for iOS and Android:
To build and deploy VR games for popular VR headsets:
Optimizing performance is crucial for smooth AR and VR experiences:
Keep the polygon count of 3D models as low as possible without compromising quality.
Use compressed textures to save memory and improve loading times.
Use occlusion culling to render only visible objects, reducing the rendering workload.
Write efficient code, avoid unnecessary calculations, and use object pooling to manage memory efficiently.
Designing user-friendly AR and VR experiences involves:
Ensure interactions are natural and easy to understand. For example, in VR, use hand gestures that mimic real-world actions.
Minimize motion sickness in VR by maintaining a stable frame rate and avoiding rapid movements.
Provide clear instructions and feedback to guide users through the experience.
Combining AR and VR can create unique experiences. For instance, a game might use AR for outdoor exploration and VR for indoor immersion. This requires careful planning to ensure a seamless transition between AR and VR modes.
Unity supports various AR and VR SDKs:
Offers advanced AR features for iOS devices. Install the ARKit XR Plugin to use it in Unity.
Provides AR capabilities for Android devices. Install the ARCore XR Plugin for integration.
Supports Oculus Rift and Quest headsets. Install the Oculus Integration package from the Unity Asset Store.
Creating multiplayer AR/VR games involves synchronizing experiences across devices. Unity’s networking solutions, such as Photon Unity Networking (PUN), can help:
Install the PUN package from the Unity Asset Store.
Use Photon View components to synchronize object states across the network.
Developing AR and VR games in Unity is an exciting journey that opens up a world of possibilities. From understanding the basics to deploying your game, this guide has covered the essential steps to get you started. With practice and experimentation, you can create immersive and engaging AR and VR experiences.
Ready to turn your game development dreams into reality? Our expert team specializes in creating captivating AR and VR experiences using Unity. Whether you're looking to develop an engaging game, an immersive training module, or an interactive marketing tool, we have the skills and expertise as the top mobile game development company to bring your vision to life.
Contact us today for a free consultation and discover how we can help you create stunning AR and VR games with Unity. Let's transform your ideas into a groundbreaking reality!